1. Goal
This guide shows one way to install WordPress on FreeBSD.
Here’s a full transcript of the guide being carried out.
|
|
Security Hazard
Deploying Web-based applications like WordPress is hard to do securely. This guide’s steps bring about at least two temporary periods of vulnerability:
|
| Software | Version | Package |
|---|---|---|
FreeBSD |
10.1-RELEASE-p5 |
FreeBSD-10.1-RELEASE-amd64-disc1.iso |
WordPress |
4.1 |
wordpress-4.1,1 |
Apache |
2.4.12 |
apache24-2.4.12 |
MySQL |
5.6.23 |
mysql56-server-5.6.23 |
PHP Module |
5.4.37 |
mod_php5-5.4.37,1 |
2. Install Packages
-
Install Apache, Apache’s PHP module, MySQL and WordPress.
# pkg install apache24 mod_php5 mysql56-server wordpress -
Configure FreeBSD to start MySQL and Apache during boot, by adding this to
/etc/rc.conf:mysql_enable="YES" apache24_enable="YES"
3. Configure MySQL
-
Initialize MySQL. Some MySQL scripts will only run from a specific working directory (
/usr/localhere).# cd /usr/local # bin/mysql_install_db -
Allow only processes running as the
mysqlaccount to access MySQL’s database files.# chmod 700 /var/db/mysql -
Start MySQL.
 Security Hazard
When MySQL first starts, the MySQL root account’s accessible to all local FreeBSD accounts—the password’s empty. A malicious person could seize this opportunity to install a backdoor for later use.
This vulnerable state continues until
mysql_secure_installationfinishes.# service mysql-server start -
Run
mysql_secure_installationto close the barn doors MySQL leaves open by default.Set a MySQL root password (this is MySQL’s root account, which is separate from the FreeBSD root account). Answer
Yto all questions.# cd /usr/local # bin/mysql_secure_installation -
Make a MySQL database and account for WordPress to use. In this example, the database name’s
WordPressFun, the account name’salf, and the password’st0pHatt25%.# mysql -u root -p Enter password: Welcome to the MySQL monitor. Commands end with ; or \g. Your MySQL connection id is 12 Server version: 5.6.23 Source distribution Copyright (c) 2000, 2015, Oracle and/or its affiliates. All rights reserved. Oracle is a registered trademark of Oracle Corporation and/or its affiliates. Other names may be trademarks of their respective owners. Type 'help;' or '\h' for help. Type '\c' to clear the current input statement. mysql> CREATE DATABASE WordPressFun; Query OK, 1 row affected (0.00 sec) mysql> GRANT ALL PRIVILEGES ON WordPressFun.* TO "alf"@"localhost" IDENTIFIED BY "t0pHatt25%"; Query OK, 0 rows affected (0.00 sec) mysql> FLUSH PRIVILEGES; Query OK, 0 rows affected (0.00 sec) mysql> quit Bye
4. Configure WordPress
-
Make a copy of the default WordPress configuration file, taking care to avoid exposing its future content.
# cd /usr/local/www/wordpress # umask 077 # cp wp-config-sample.php wp-config.php -
Edit the WordPress configuration file to tell WordPress about its MySQL database and account.
# ex wp-config.php
wp-config.php: unmodified: line 80
:%s/database_name_here/WordPressFun/
define('DB_NAME', 'WordPressFun');
:%s/username_here/alf/
define('DB_USER', 'alf');
:%s/password_here/t0pHatt25%/
define('DB_PASSWORD', 't0pHatt25%');
:x
wp-config.php: 80 lines, 2695 characters
When finished editing, the diff output should look like this:
# diff wp-config.php wp-config-sample.php 19c19 < define('DB_NAME', 'WordPressFun'); --- > define('DB_NAME', 'database_name_here'); 22c22 < define('DB_USER', 'alf'); --- > define('DB_USER', 'username_here'); 25c25 < define('DB_PASSWORD', 't0pHatt25%'); --- > define('DB_PASSWORD', 'password_here'); -
Be sure that processes running as
wwwcan access the WordPress configuration file.# chown www:www wp-config.php # chmod 640 wp-config.php
5. Configure Apache
-
Edit
httpd.conf. This configuration will cause WordPress to appear at the host’s base URL, such ashttp://wordpress.example.net.Note that the php5_module line’s added automatically when the Apache PHP module’s installed. It’s shown in the
exsession below just for context.# cd /usr/local/etc/apache24 # cp httpd.conf httpd.conf.dist # ex httpd.conf httpd.conf: unmodified: line 534 :/php5/# 175 LoadModule php5_module libexec/apache24/libphp5.so :176a <FilesMatch "\.php$"> SetHandler application/x-httpd-php </FilesMatch> <FilesMatch "\.phps$"> SetHandler application/x-httpd-php-source </FilesMatch> . :g/.usr.local.www.apache24.data/# 250 DocumentRoot "/usr/local/www/apache24/data" 251 <Directory "/usr/local/www/apache24/data"> :%s/.usr.local.www.apache24.data/\/usr\/local\/www\/wordpress/ <Directory "/usr/local/www/wordpress"> :g/.www.wordpress/# 250 DocumentRoot "/usr/local/www/wordpress" 251 <Directory "/usr/local/www/wordpress"> :251a DirectoryIndex index.php . :x httpd.conf: 541 lines, 20909 charactersWhen the edits are complete, the diff between the edited and default configuration files should look like this:
# diff httpd.conf httpd.conf.dist 177,182d176 < <FilesMatch "\.php$"> < SetHandler application/x-httpd-php < </FilesMatch> < <FilesMatch "\.phps$"> < SetHandler application/x-httpd-php-source < </FilesMatch> 250,252c244,245 < DocumentRoot "/usr/local/www/wordpress" < <Directory "/usr/local/www/wordpress"> < DirectoryIndex index.php --- > DocumentRoot "/usr/local/www/apache24/data" > <Directory "/usr/local/www/apache24/data"> -
Start Apache:
Security HazardStarting Apache will cause WordPress to become remotely accessible, despite its incomplete configuration. In this state, WordPress allows an anonymous person to create its administration account. A malicious person could seize this opportunity to create an account that could be used later to view secret data.
This vulnerable state continues until the WordPress Web-based interface’s used to create its initial administration account.
# service apache24 start
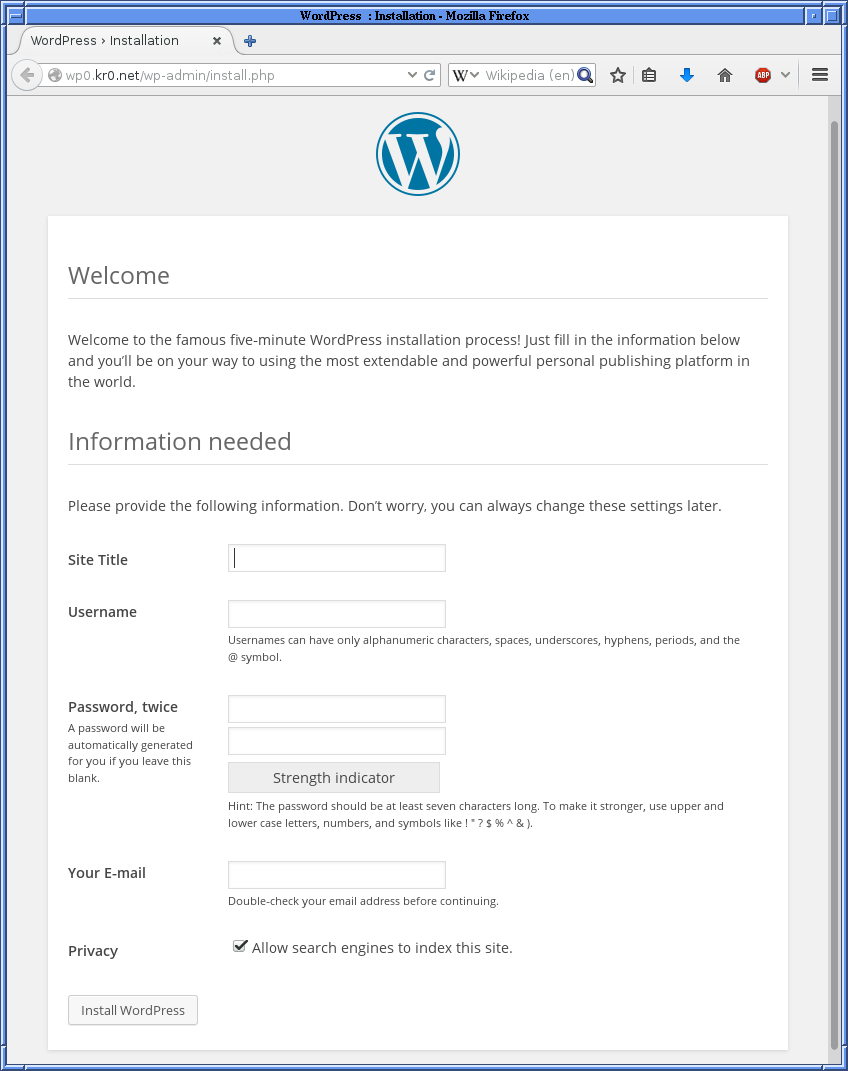
6. Access WordPress
Accessing the host’s base URL with a Web browser should yield an administration account configuration screen:
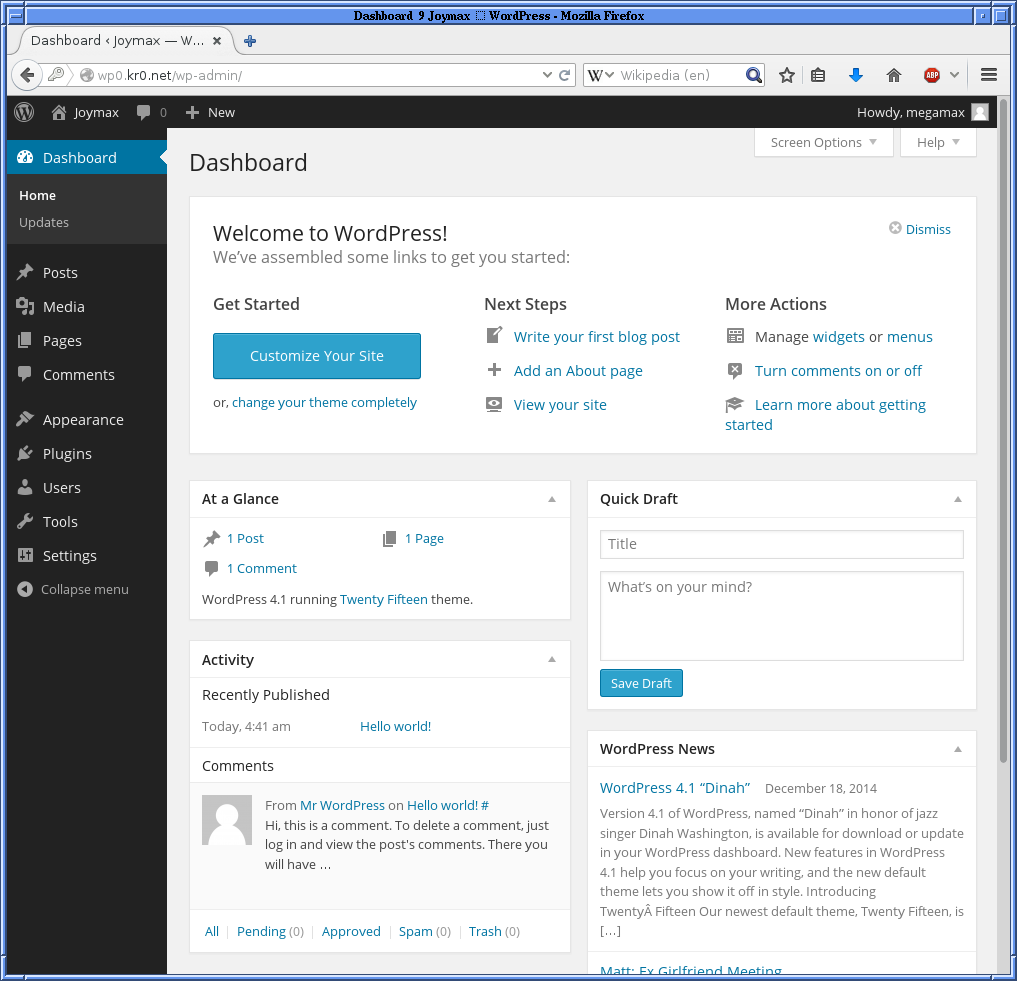
After creating the administration account, logging in should yield this screen:
Copyright © 2015 Robroy Gregg